
Transforming your outdoor space into a serene oasis where comfort meets style is an achievable dream with the right elements, particularly with outdoor structures like freestanding pergolas. People, you know, really want to make their backyards feel like another room, a place to relax and enjoy the fresh air, so a covered pergola, it's almost like having an extra living area outside. This kind of project, a pergola with a roof, means you can enjoy your patio or deck even when the sun is blazing down or a light rain starts to fall, which is pretty cool, honestly.
A pergola, at its heart, is an outdoor structure with columns supporting a roofing grid of beams and rafters, that’s what it is. This roofing grid may be left open or covered to create an area sheltered from the elements, which is the key part for us today. When you decide to build one yourself, you’re looking at a project that offers a lot of satisfaction, and it can also save you a good bit of money compared to hiring someone, you know, to do it all for you. It’s about creating that perfect spot for evening patio meals or just a quiet morning coffee, and stuff.
This guide will walk you through the steps and considerations for a DIY pergola with a roof, helping you get that ideal outdoor retreat. We'll look at materials, design ideas, and practical tips to make your project a success, because, quite frankly, getting it right means you’ll love your new space for years. There are many ways to go about it, from buying a kit to building from scratch, and we’ll cover some of those choices, too, so you can pick what feels best for you.
Table of Contents
- Why a Covered Pergola for Your Outdoor Space?
- Choosing Your Pergola Style and Materials
- Planning Your DIY Pergola with a Roof
- The Building Process: Step-by-Step
- Finishing Touches and Personalization
- Safety First and Local Rules
- Frequently Asked Questions About DIY Covered Pergolas
Why a Covered Pergola for Your Outdoor Space?
Having a pergola with a roof really changes how you use your outdoor area, you know? It's not just about adding a pretty structure; it's about making that space more functional, more comfortable, and, quite honestly, more inviting for everyone. People are really looking for ways to get more out of their homes, and extending living areas outdoors is a big part of that right now. It's about creating a true outdoor room.
Extending Your Outdoor Season
With a covered pergola, you can enjoy your patio or deck for a much longer part of the year, which is a big deal for many homeowners. That roofing grid, whether it's solid or louvered, offers protection from the harsh sun during summer, preventing sunburns and keeping things cooler underneath, which is pretty nice. And when those unexpected light showers pop up, you won't have to rush inside, so you can just keep enjoying your time outside, which is, in a way, very convenient.
This means your outdoor furniture stays in better shape, too, protected from constant sun and rain, which, you know, can really make a difference in its lifespan. It also creates a cozy spot for those cooler evenings, especially if you add some string lights or a fire pit nearby, making it a truly versatile space, honestly. It’s about getting more use out of your home, plain and simple.
Value and Enjoyment
Adding a quality outdoor structure like a pergola with a roof can also boost your home's appeal, and that's something worth thinking about. It shows that you’ve put thought into creating comfortable and functional living areas, both inside and out, which is a big plus for many people. It's not just about money, though; the daily enjoyment you get from having such a space is probably the biggest benefit, really.
Imagine hosting gatherings, having quiet family dinners, or just relaxing with a book under your own custom-built cover. It really does become a focal point, a place where memories are made, and that’s pretty special. It's about enhancing your lifestyle, and that's something you can't really put a price on, can you?
Choosing Your Pergola Style and Materials
When you're thinking about building a pergola with a roof, one of the first big decisions is what kind of materials you want to use, and that also means picking a style. There are many options out there, each with its own look and feel, so it’s worth taking some time to consider what fits your home best, you know. Our collection, as a matter of fact, includes wooden or vinyl pergolas, louvered pergolas, covered pergolas, and more, so there's a lot to consider.
Wood or Vinyl Options
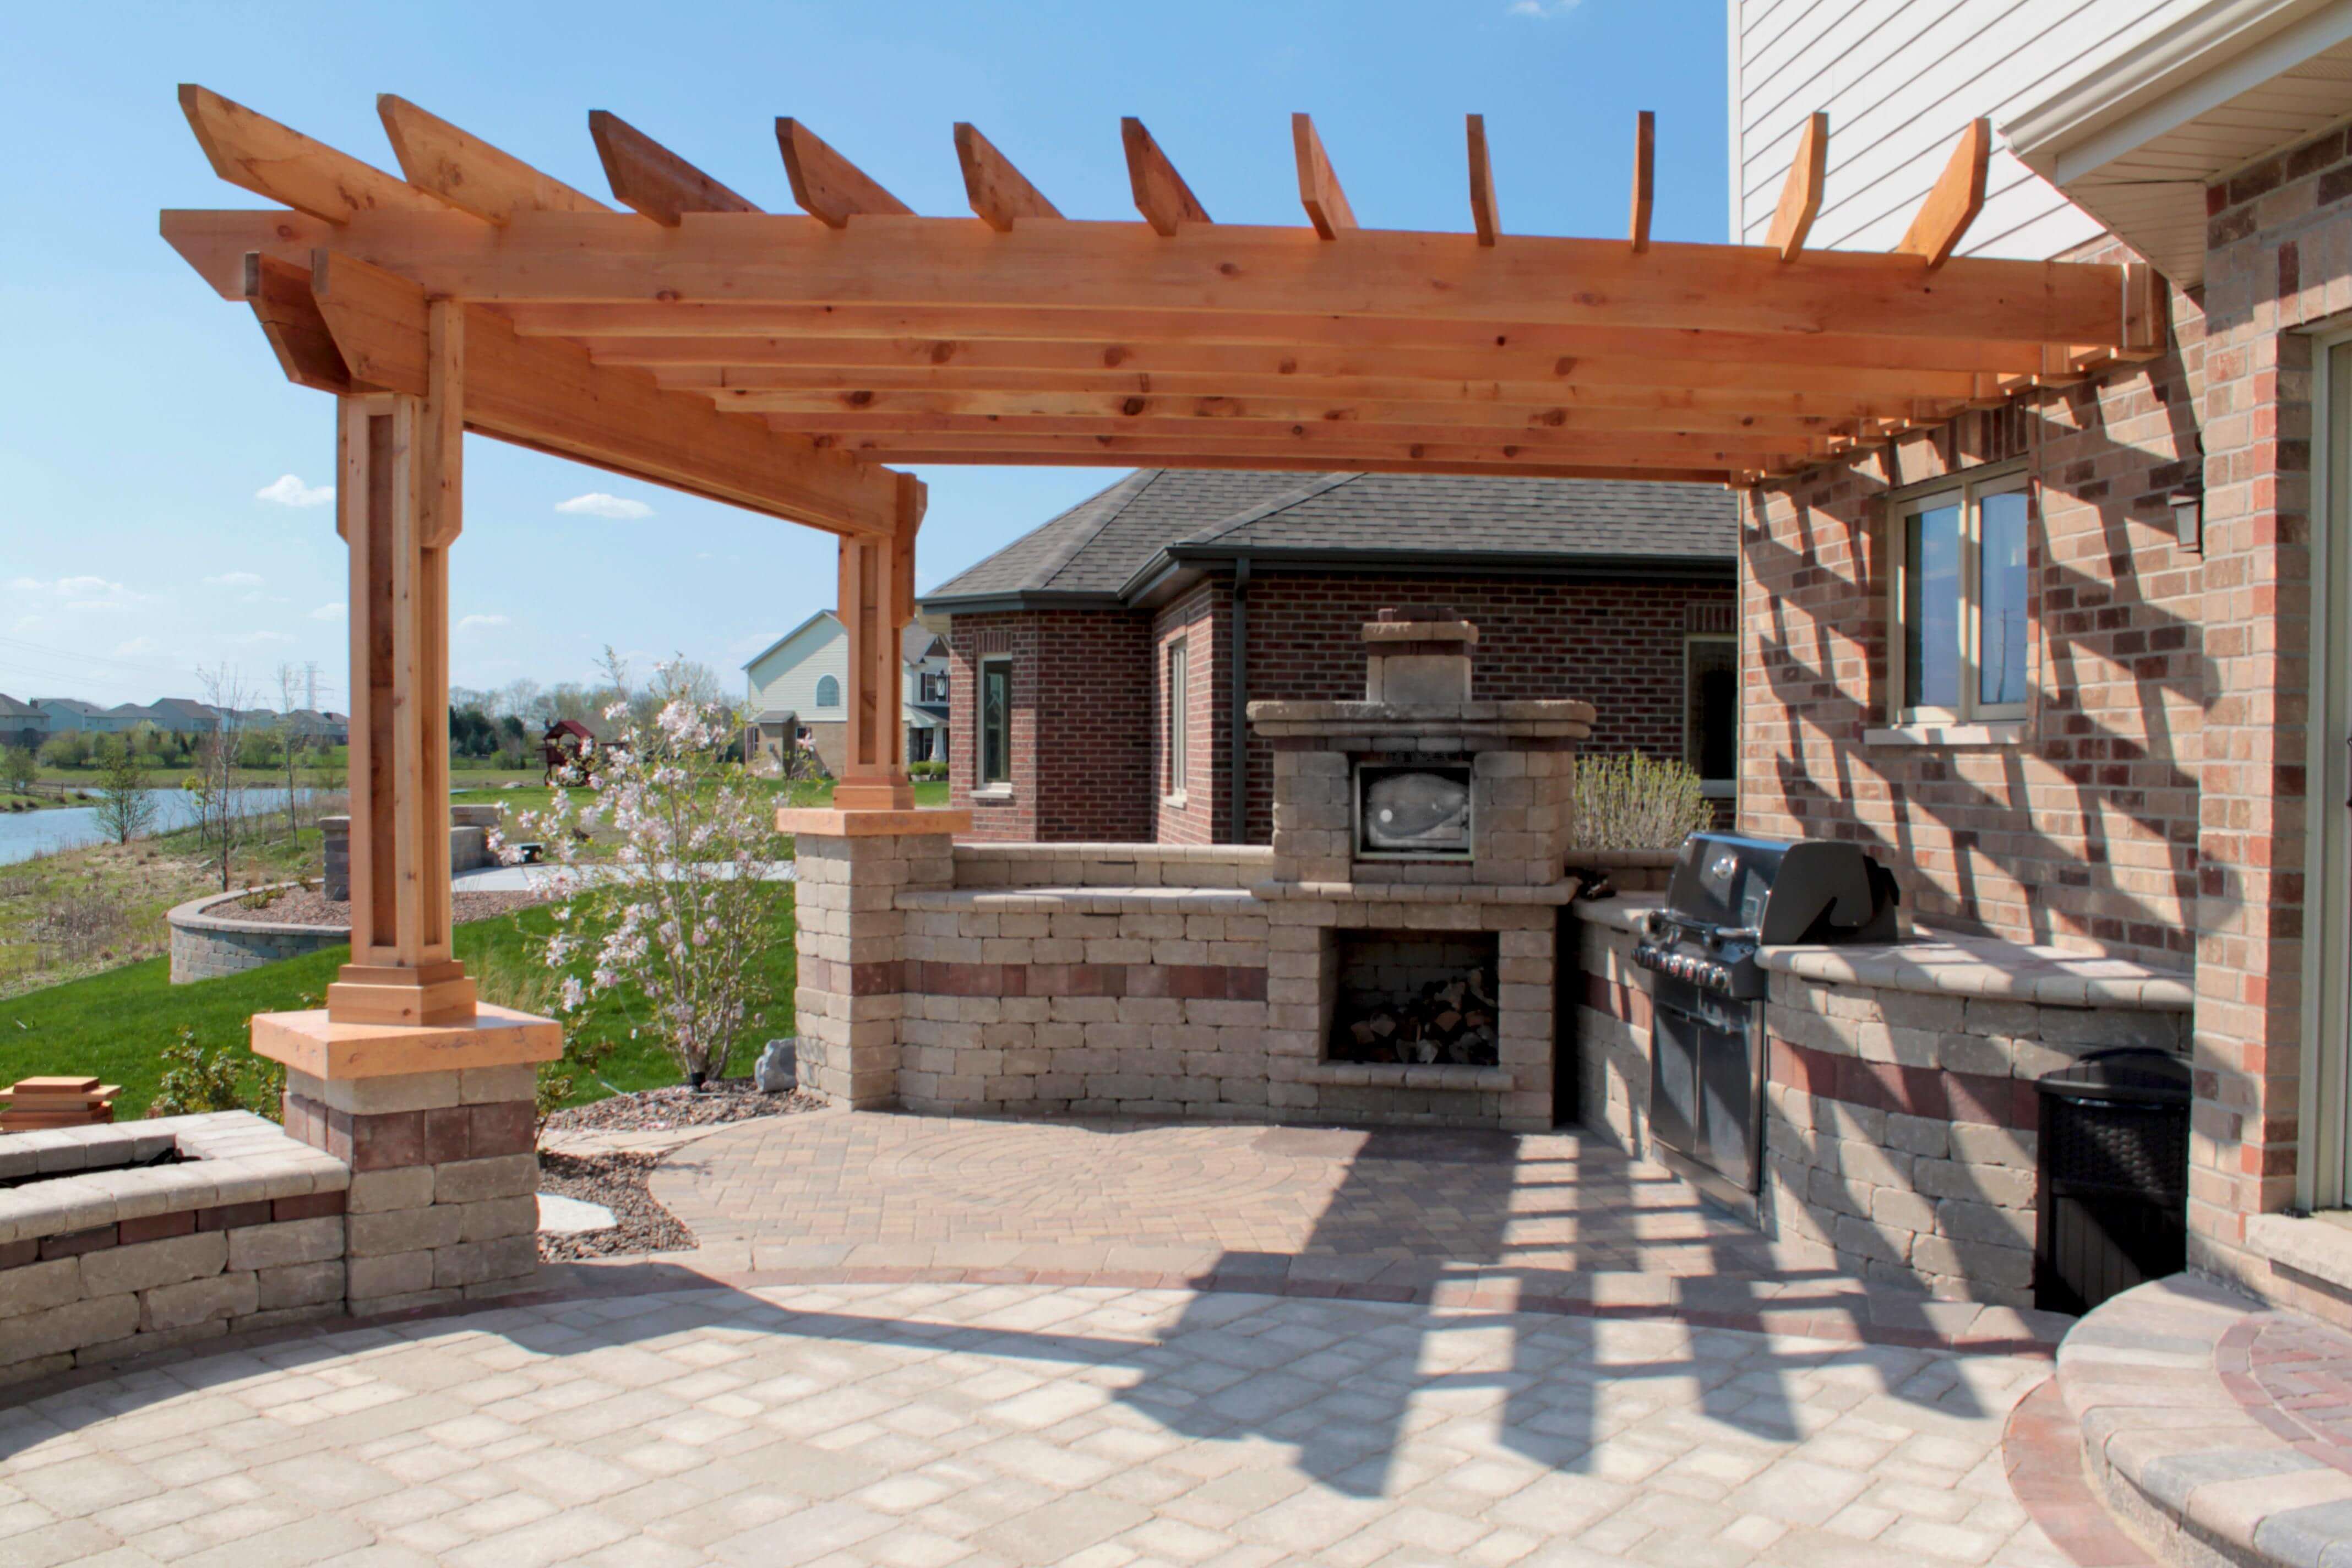
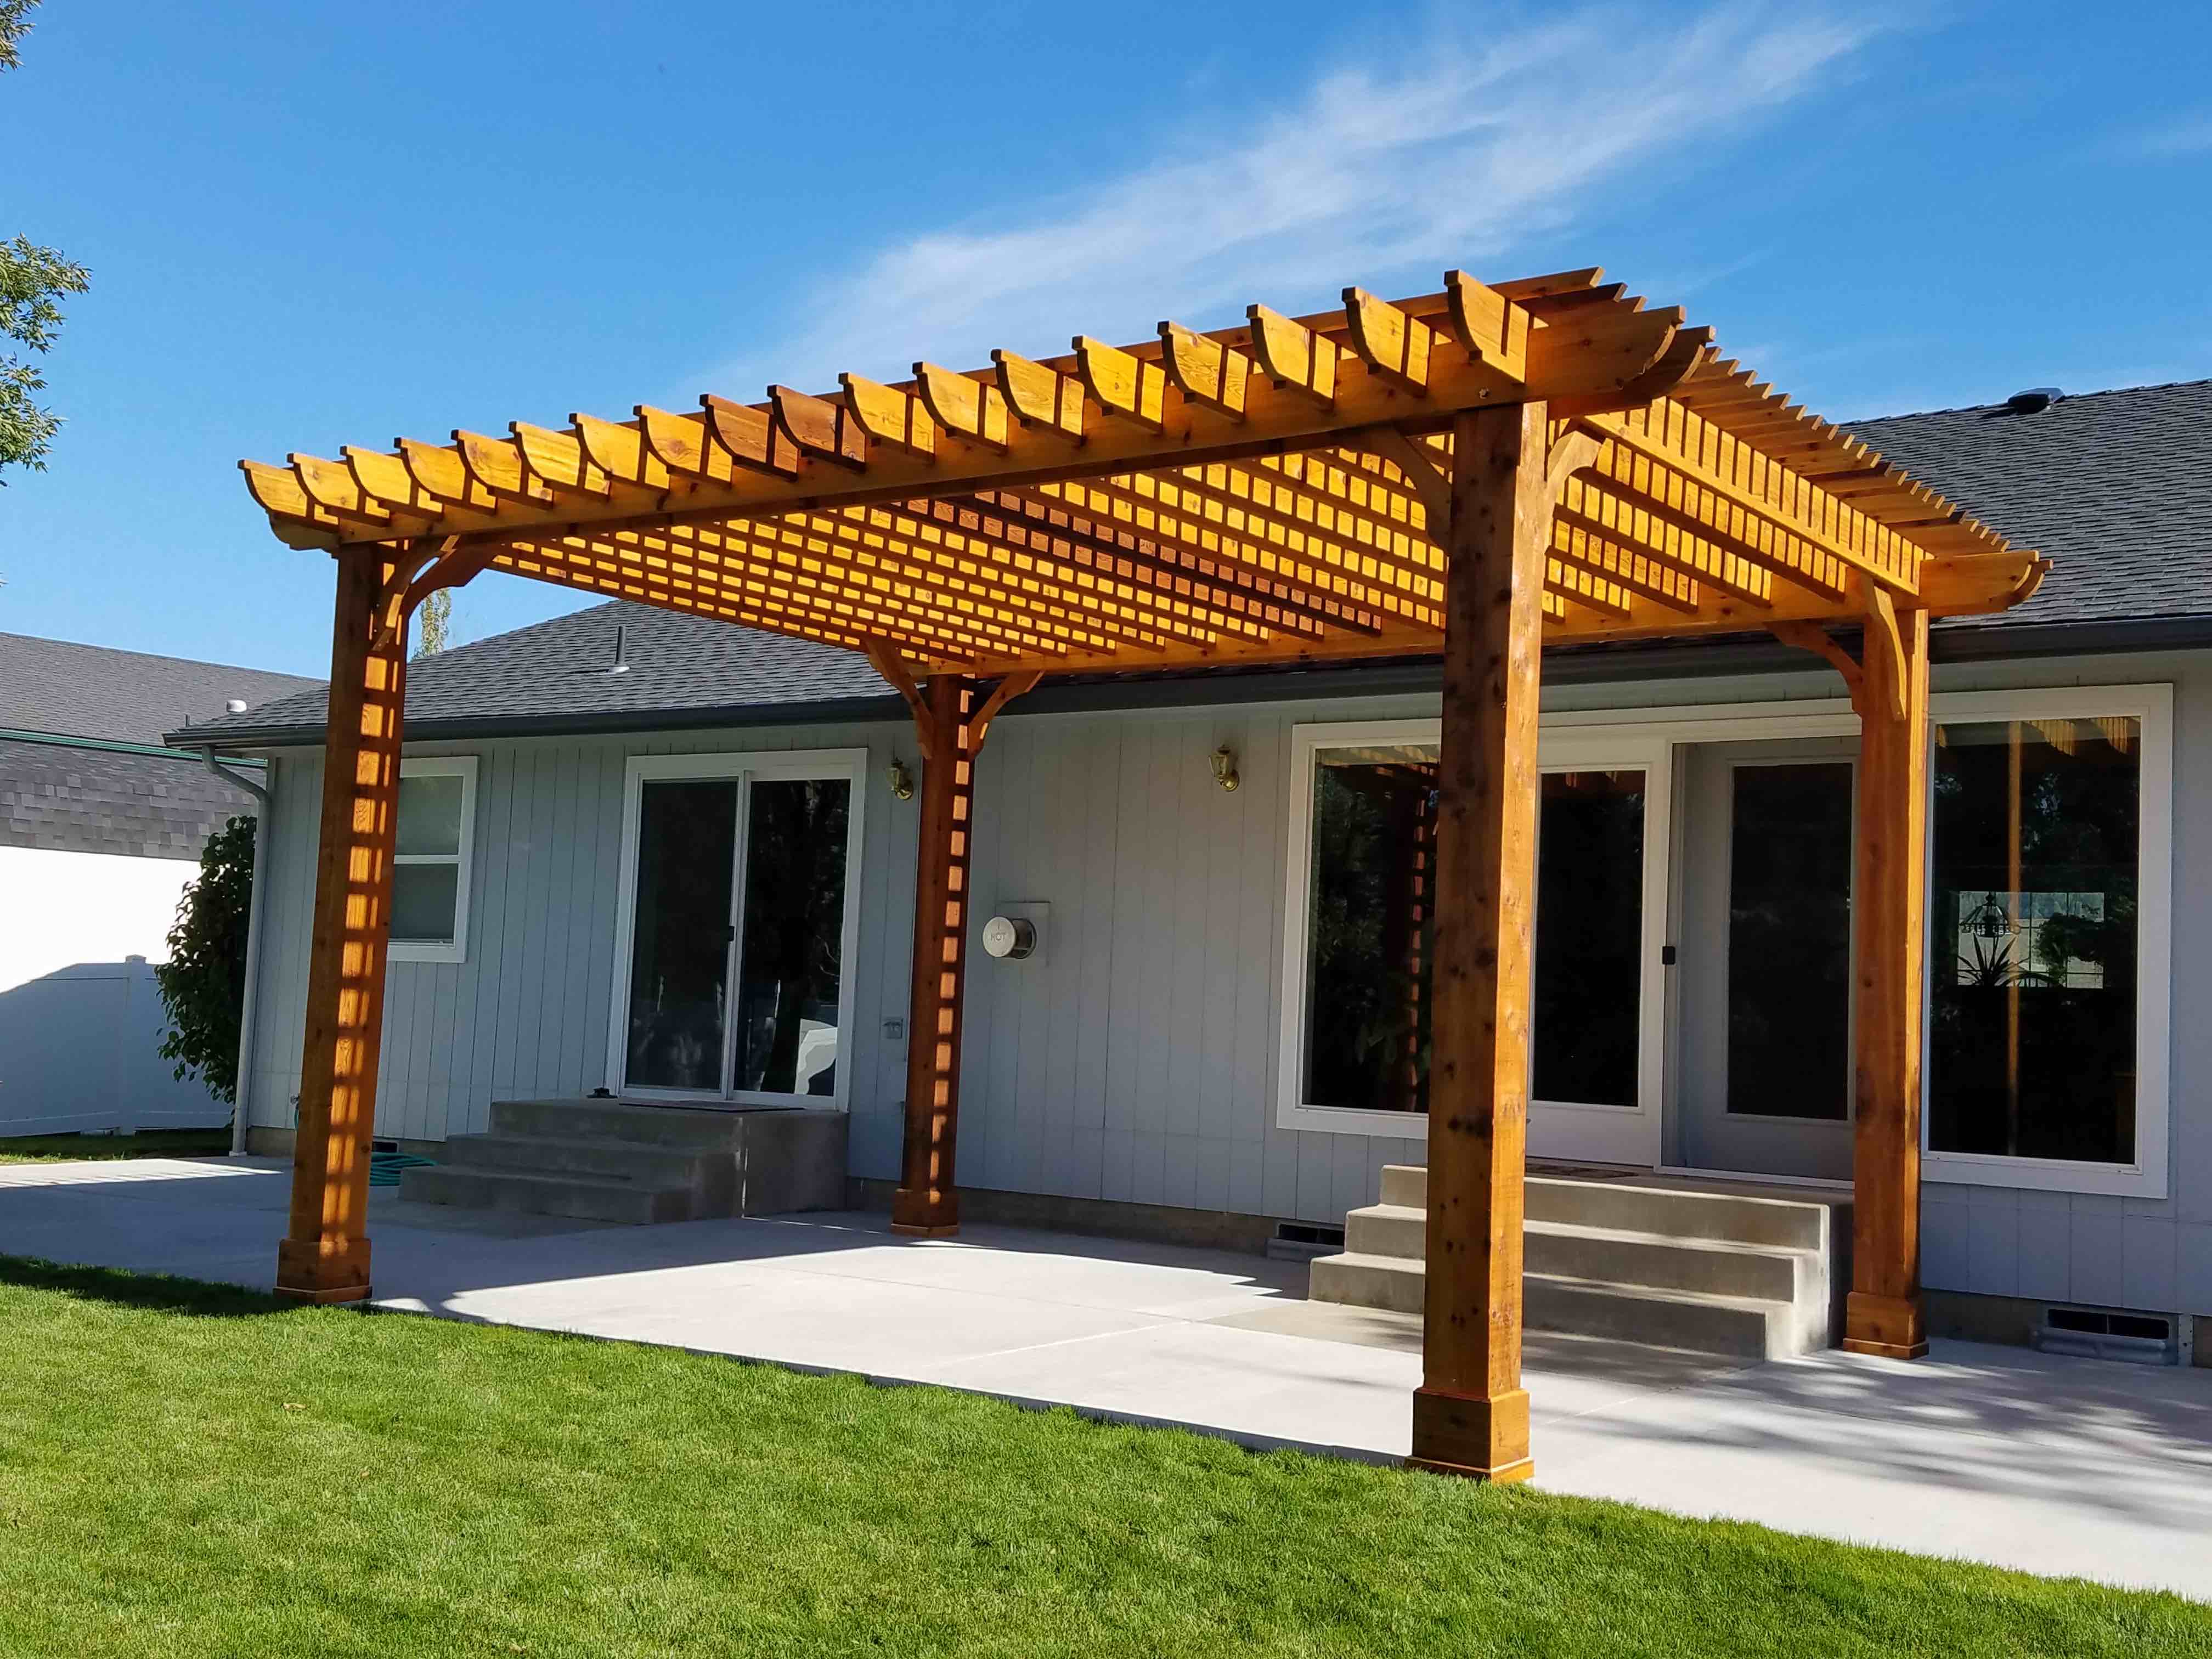
Wood pergolas offer a classic, natural look that blends beautifully with most outdoor settings, and that's a big reason why many people choose them. You can find options like pressure-treated pine or rough sawn cedar, which both have their own unique characteristics. Pressure-treated beams, for instance, are great for durability and resisting rot, which is pretty important for an outdoor structure, obviously.
Vinyl pergolas, on the other hand, are known for being very low maintenance, which is something many folks appreciate. They don't need painting or staining, and they resist weathering quite well, so they often look new for a long time. It really comes down to your preference for appearance and how much upkeep you're willing to do, that’s what it is.
Louvered and Covered Designs
The "roofing grid" aspect of a pergola, as mentioned earlier, can be designed in different ways to give you varying levels of shelter. Some pergolas have an open grid that’s great for string lights or climbing vines, like the Lowe's pergola lineup offers, which is very popular for creating a lovely atmosphere above evening patio meals. This type provides some dappled shade but isn't fully enclosed.
For a true "pergola with roof diy" project, you’re likely looking for something that offers more complete protection. This could mean adding solid panels, corrugated roofing, or even retractable awnings over the grid. Louvered pergolas are another interesting choice; they have adjustable slats that let you control the amount of sun or shade, which is actually quite clever. This flexibility means you can customize the light and airflow depending on the weather, or your mood, you know, which is really versatile.
DIY from Scratch Versus Kits
You have a couple of main paths when it comes to building your own covered pergola: starting from scratch or using a kit. Building from scratch gives you total freedom in design, size, and material choice, which is great if you have a very specific vision. We build quality, affordable, customizable, DIY, freestanding, attached, pressure-treated pine, rough sawn cedar, and custom wood structures, so there's a lot of flexibility there.
Pergola kits, however, can make the process much simpler, and that's why many people buy pergola kits for sale online through pergola depot. We tested pergola kits in our own backyards to determine the best ones based on assembly, material, stability, and more, and we also consulted an expert to learn more about them. Kits often come with pre-cut pieces and detailed instructions, which can save a lot of time and guesswork, especially if you’re newer to big DIY projects. They’re designed to be put together by a homeowner, which is really convenient, honestly.
Planning Your DIY Pergola with a Roof
Good planning is probably the most important part of any big DIY project, and building a pergola with a roof is no exception, you know. Taking the time to think through every detail before you start cutting wood or pouring concrete can save you a lot of headaches later on. It’s about making sure everything fits, looks good, and works the way you want it to, basically.
Picking the Perfect Spot
Where you put your pergola really matters, and that's something to consider early on. Think about how the sun moves across your yard throughout the day, and where you need the most shade. Do you want it over your patio, perhaps attached to your house, or as a freestanding structure in your garden? Freestanding pergolas, for example, can be a beautiful focal point in a larger yard. Consider how it will flow with your existing outdoor layout and how it will be used, you know, for dining, relaxing, or just as a pretty feature.
Sizing It Up
The size of your pergola should match its intended use and the space available, which is pretty obvious but still important. If you plan to put a dining table underneath, make sure it's big enough to accommodate the table and chairs comfortably, with room to walk around. Lowe's pergola lineup, for instance, offers 10 ft spans, which are ideal for string lights or climbing vines above evening patio meals, giving you a good sense of scale. Measure your area carefully, and maybe even sketch it out on paper to get a feel for the dimensions, because that can really help you visualize it.
Material List and Budgeting
Once you have your design and size sorted, you can start making a list of all the materials you’ll need. This includes the main structural components like beams, rafters, and posts, but also the roofing material itself. Don't forget hardware like steel brackets, screws, and concrete for the footings, which are often overlooked but very important. Get free shipping on qualified pergolas products or buy online pick up in store today in the storage & organization department, and you can also shop patio covers and pergolas on costco.com, which can help with getting your materials. It’s a good idea to get quotes from a few places and create a budget to avoid surprises, you know, because costs can add up quickly.
Tools You'll Need
Having the right tools makes a huge difference in how smoothly your project goes, and that’s just a fact. You'll likely need a saw (circular saw or miter saw), a drill, a level, a tape measure, and safety gear like gloves and eye protection. Depending on your chosen roofing material, you might need specialized tools for cutting or fastening it. If you don't own some of these, consider borrowing from a friend or renting them for the duration of your build, because, quite frankly, buying them all new can be expensive for a one-time project.
The Building Process: Step-by-Step
Now for the exciting part: actually building your pergola with a roof! This is where your planning pays off, and you start to see your vision come to life. Remember, taking your time and being precise at each step will lead to a much better outcome, so, you know, don't rush it.
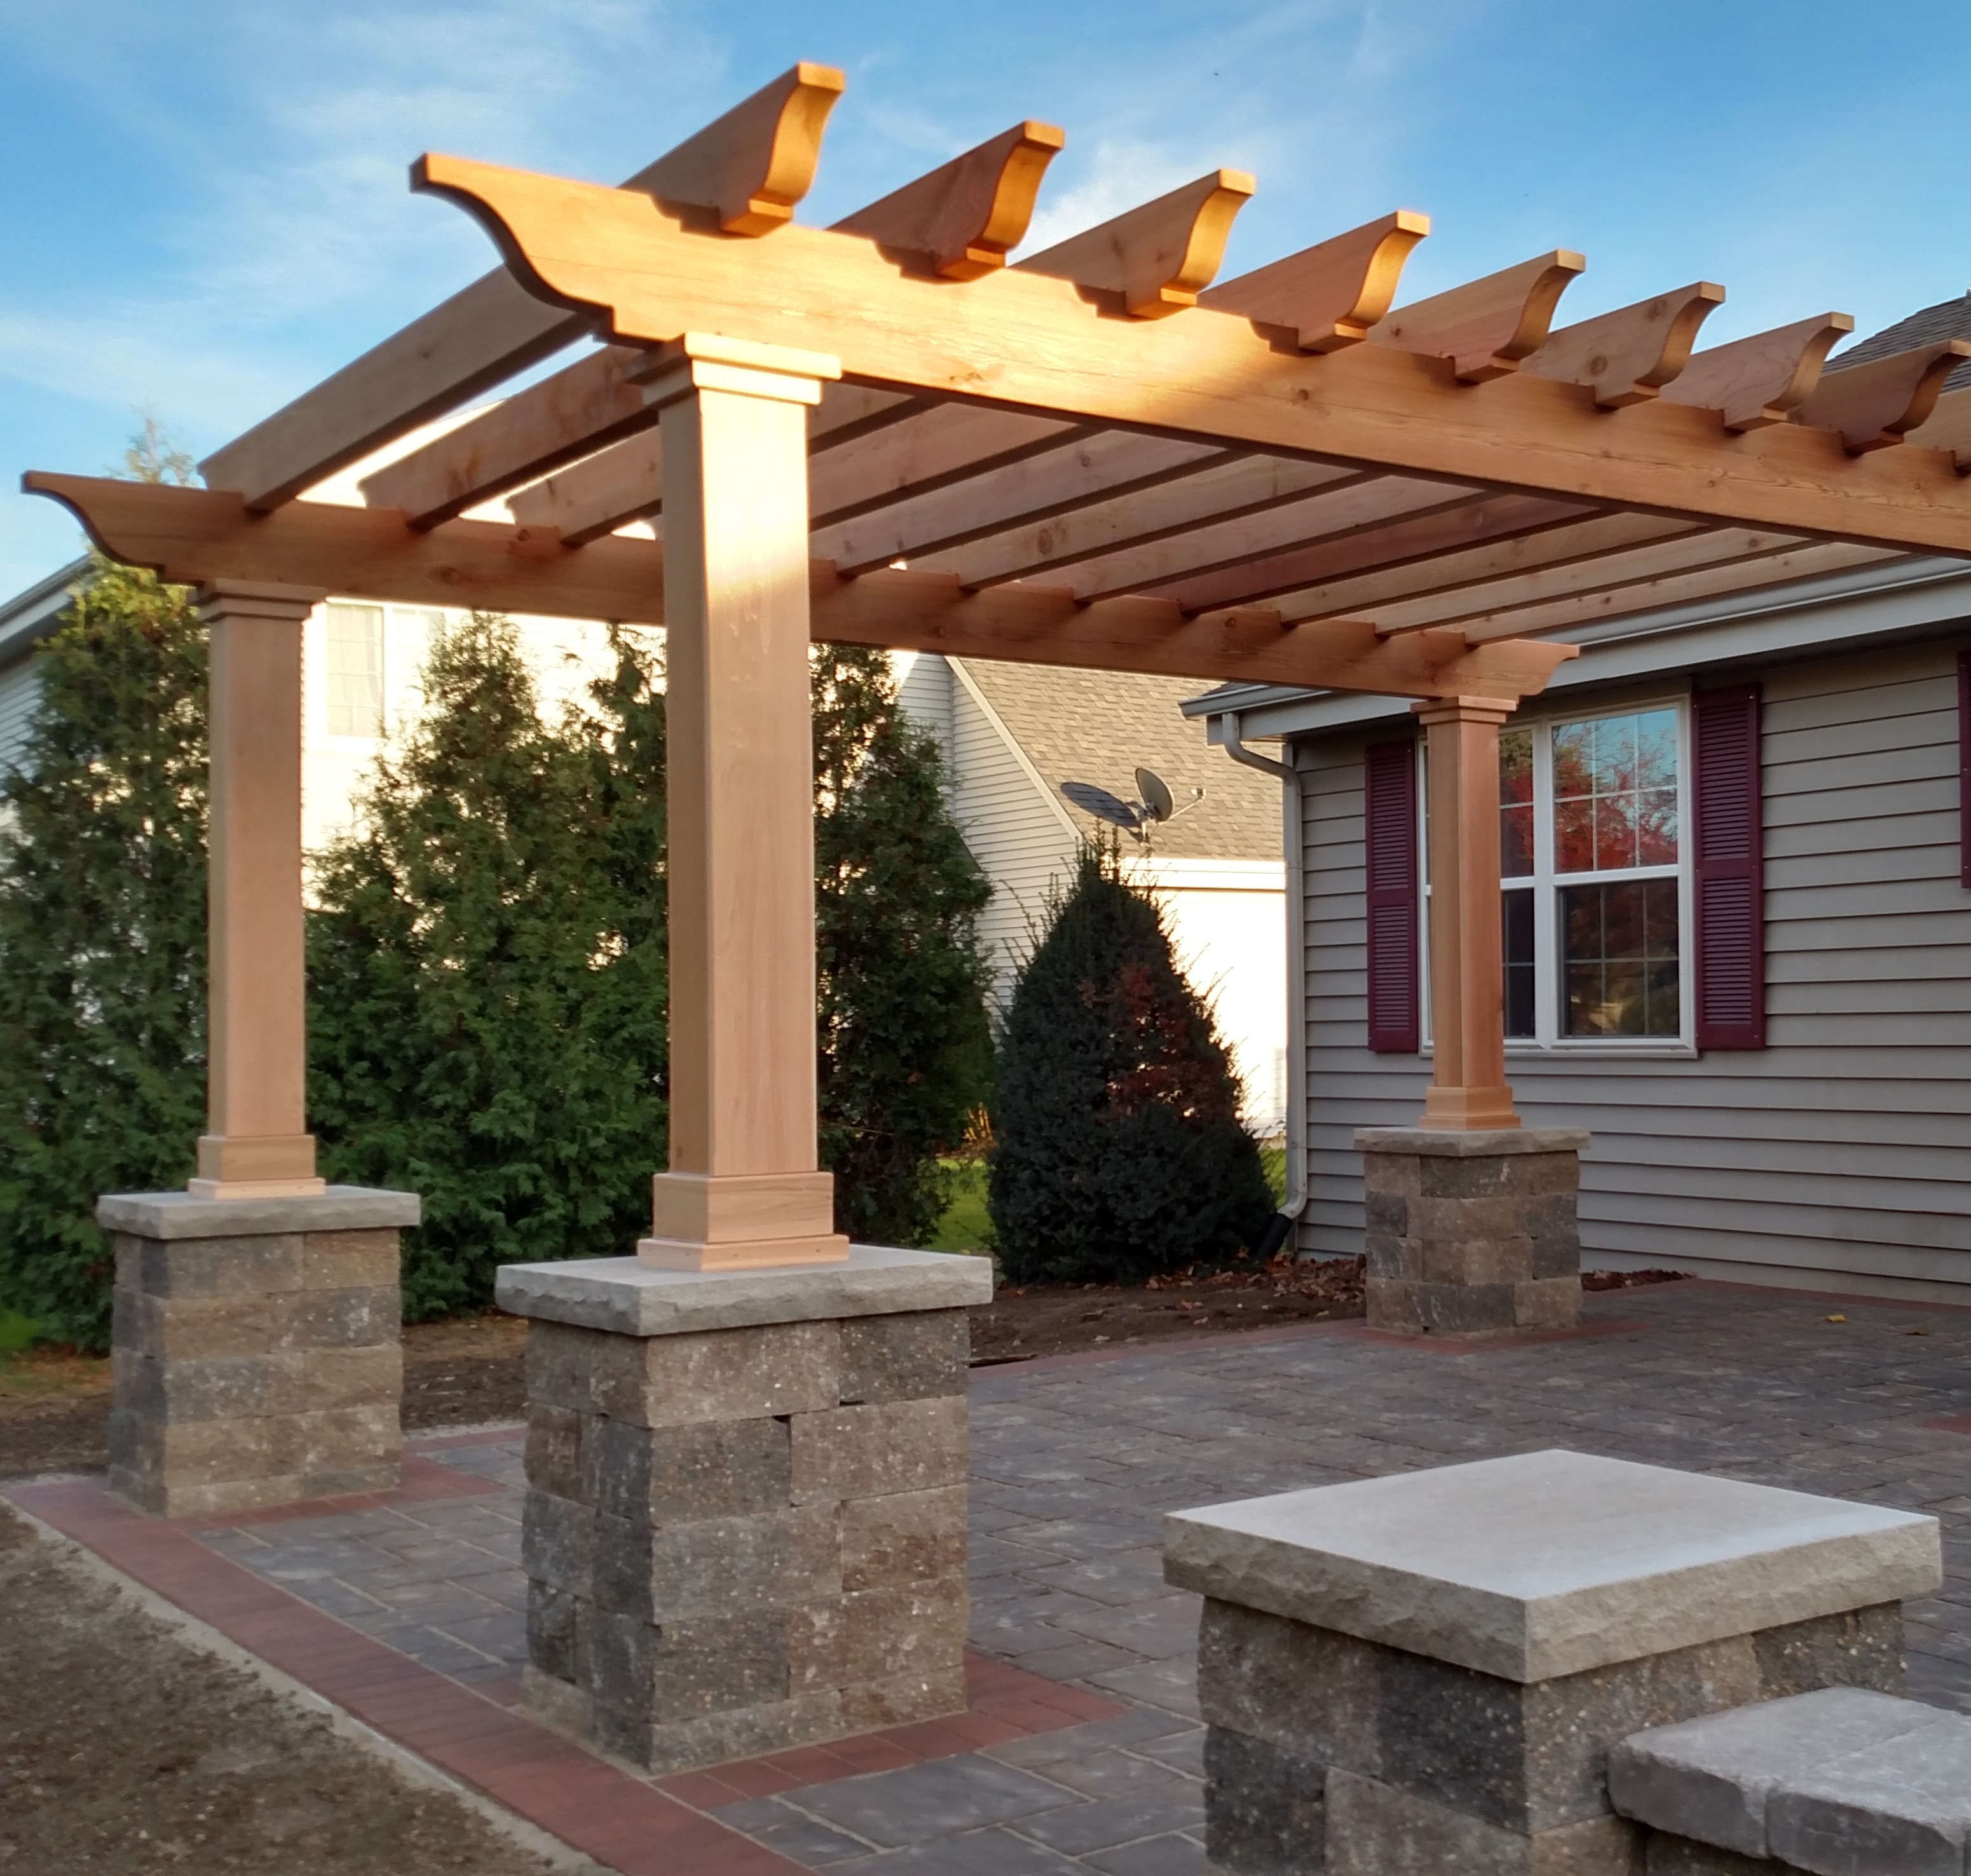
Laying the Foundation and Posts
The stability of your pergola depends on a solid foundation, and that’s absolutely crucial. This usually involves digging holes for your posts and setting them in concrete. Make sure your posts are plumb (perfectly vertical) and spaced correctly according to your design, which is very important for the overall structure. Using string lines and a level will help you keep everything straight and true, and that’s a pretty good tip for any building project, honestly. Some kits might have different foundation requirements, so always check your specific instructions, too.
Framing the Structure
Once your posts are secure, you'll start adding the main beams and rafters that form the roofing grid. These pieces connect the posts and create the framework for your roof. Lowe's pergola lineup offers pressure-treated beams and steel brackets, which can make these connections very strong and secure. It’s important to make sure all your connections are tight and square, because that provides the stability for the entire structure. This is where you really start to see the shape of your pergola take form, and it's quite satisfying, you know.
Adding the Roof for Shelter
This is the step that turns a regular pergola into a covered one, and it's probably the most exciting part for many people. There are various materials you can use for the roof. You might choose clear or opaque corrugated panels, which let light through but block rain and harsh sun. Another option is solid wood planks, which offer full shade and a more rustic look. Some people even install fabric canopies or retractable awnings for flexibility. Make sure your chosen roofing material is properly secured and sealed to prevent leaks, because, you know, you want it to actually keep the rain out. This part truly transforms the space into a sheltered area.
Finishing Touches and Personalization
With the main structure up and the roof on, it's time to add those special touches that make your pergola truly yours. This is where you can let your creativity shine, and really make the space feel like an extension of your home, you know. Think about how you want to use the space and what would make it most comfortable for you and your family.
You might want to stain or paint the wood to match your house or outdoor furniture, which can really tie everything together. Adding string lights, like those ideal for 10 ft spans, can create a magical atmosphere for evening use. Climbing vines, as a matter of fact, are another lovely addition, offering natural shade and beauty as they grow over the structure. Outdoor design pros at hgtv.com share 12 stylish pergolas and gazebos for every backyard or patio to DIY just in time for warm weather, so there are many ideas out there for inspiration. Consider adding comfortable seating, outdoor rugs, or even a small outdoor kitchen setup to make it a truly functional and inviting space, because, you know, it’s all about making it work for you.
To learn more about general outdoor living trends and design ideas, you could check out a reputable outdoor living site, which often has great tips for making your backyard dreams come true. You can also learn more about outdoor structures on our site, and find more DIY project ideas here to keep your creativity flowing.
Safety First and Local Rules
Always prioritize safety when working on any DIY project, and building a pergola is no different. Wear appropriate safety gear, like eye protection and gloves, and be careful when working with power tools or at heights, which is just common sense, really. If you're unsure about a step, it's always better to consult an expert or watch a few more tutorials before proceeding, because, you know, better safe than sorry.
Before you even start digging, check with your local municipality about building codes and permits. Some areas require permits for outdoor structures of a certain size, and ignoring these rules can lead to problems later on. It’s always best to be compliant from the start, so, you know, just make a quick call to your local planning department.
Frequently Asked Questions About DIY Covered Pergolas
People often have questions when they're thinking about building a covered pergola themselves, and that's totally understandable. Here are a few common ones:
Can I add a roof to an existing pergola?
Yes, you absolutely can add a roof to an existing pergola, and that’s a pretty common upgrade. You'll need to make sure the existing structure is strong enough to support the added weight of the roofing material, which is very important for safety. You might need to reinforce the beams or posts, so, you know, just give it a good check before you start.
What are the best materials for a DIY pergola roof?
The best materials for a DIY pergola roof really depend on your needs and budget. Clear or opaque corrugated polycarbonate panels are very popular because they're lightweight, durable, and let light through while blocking rain and UV rays. Metal roofing, like corrugated steel, offers full shade and a modern look. Wood planks or shingles can also be used for a more traditional or rustic feel, but they will require more maintenance, so, you know, think about that.
How long does it take to build a DIY pergola with a roof?
The time it takes to build a DIY pergola with a roof varies a lot depending on your experience level, the complexity of the design, and whether you're using a kit or building from scratch. A simple kit might take a weekend or two with a helper, while a custom-built structure could take several weekends or even a few weeks, especially if you're working alone. It's not a race, so, you know, just take your time and enjoy the process.
Detail Author:
- Name : Ken Kuvalis
- Username : breana49
- Email : achamplin@yahoo.com
- Birthdate : 1985-12-13
- Address : 37299 Mante Haven Apt. 569 Maggieport, WI 60415
- Phone : +1.317.675.9676
- Company : Upton, Ullrich and Runolfsson
- Job : Computer Science Teacher
- Bio : At quia atque quo quae. Dolor voluptatum voluptatem fugit est. Nisi nemo alias ut quis beatae temporibus incidunt. Consequuntur eos corrupti vel.
Socials
instagram:
- url : https://instagram.com/drake_kuhlman
- username : drake_kuhlman
- bio : Minus ad molestias in et architecto adipisci ipsam natus. Sed voluptatem veritatis vel eos.
- followers : 4917
- following : 976
facebook:
- url : https://facebook.com/drakekuhlman
- username : drakekuhlman
- bio : Dolorem sequi voluptatum nulla sit et ad voluptatem.
- followers : 2058
- following : 870
tiktok:
- url : https://tiktok.com/@drake.kuhlman
- username : drake.kuhlman
- bio : Incidunt id voluptas dolores pariatur.
- followers : 2432
- following : 2177
twitter:
- url : https://twitter.com/kuhlmand
- username : kuhlmand
- bio : Qui veniam enim temporibus nemo mollitia. Doloribus fugit ut provident. Nostrum id odit et neque officiis ipsa. Et at sunt ex vel dolores perferendis.
- followers : 321
- following : 2514
linkedin:
- url : https://linkedin.com/in/drake2237
- username : drake2237
- bio : Est asperiores sunt repudiandae nam vitae.
- followers : 5855
- following : 2475
